How to automate OG Images with Netlify Edge Functions
Automating the creation of custom open graph (OG) images opens up interesting business use cases from personalized conference tickets to shareable user profiles to easy blog post images. Fundamentally automated OG images unlock personalized information sharing at scale and make it easier to have great SEO. You can manually create 10 images, maybe a couple hundred images, but if you have thousands or millions of images then this is the way to go.
Probably one of the most well known examples of this is the generated OG images for GitHub repositories. GitHub generates an open graph social media image with some basic information about the repository: stars, contributors, forks, etc. The information is meaningful and helps users make a decision about whether they want to click on a link or not.
Getting setup
In this blog post I am going to show how to do this using Netlify edge functions but Vercel also has a great solution for generated OG images too.
- Use an existing project or initialize a fresh repository of whatever frontend framework you prefer (this demo uses Astro but it will work with NextJS, Remix, SvelteKit and others).
- Make sure you have a current version of the Netlify CLI by running
npm install netlify-cli -g. - Create a blank edge function at
/netlify/edge-functions/og-image.tsfile. This will be where all of the magic happens! - Create a
netlify.tomlfile in the root of your project with the following code. The path is where your edge function will be publicly available.
[[edge_functions]]
function = "og-image"
path = "/api/og-image"- Run
netlify devto start up your project using the Netlify development server which will let us test and preview the edge function. The first time you do this you should see some prompts about configuring your code editor for edge functions.
Making a basic image
Under the hood we are using og-edge which is a Deno port of Vercel’s open graph image generator created by Matt Kane.
Open up your og-image.ts edge function and paste in the following code:
/** @jsxImportSource https://esm.sh/react */
import React from 'https://esm.sh/react@18.2.0'
import { ImageResponse } from 'https://deno.land/x/og_edge/mod.ts'

export default async function handler(req: Request) {
  return new ImageResponse(
    (
      <div
        style={{
          width: '100%',
          height: '100%',
          display: 'flex',
          alignItems: 'center',
          justifyContent: 'center',
          fontSize: 128,
          background: 'lavender',
        }}
      >
        Hello world!
      </div>
    ),
  )
}
Now goto localhost:4321/api/og-image and check our the beautiful hello world! Nothing special happening here, yet.
Getting dynamic
The magic of automated open graph images is that they can be generated at run time based on whatever URL search parameters are provided. User name, blog post title, address, product rating, price, etc. You can get as creative as you want here because it happens at run time, not build time.
This information is passed to our image generation API using URL search params. A really simple example is something like this: https://www.my-site.com/api/og-image?title=Hello%20World.
The important bits to notice are everything that comes after the ? mark where we pass the title as a search parameter to the edge function. Our edge function can then decode these search params and use them in our image as variables.
Here is an example building on what we had before to include a dynamic title in the image:
/** @jsxImportSource https://esm.sh/react */
import React from 'https://esm.sh/react@18.2.0'
import { ImageResponse } from 'https://deno.land/x/og_edge/mod.ts'

export default async function handler(req: Request) {
  const { searchParams } = new URL(req.url)
  const title = searchParams.get('title')

  return new ImageResponse(
    (
      <div
        style={{
          width: '100%',
          height: '100%',
          display: 'flex',
          alignItems: 'center',
          justifyContent: 'center',
          fontSize: 128,
          background: 'lavender',
        }}
      >
        {title}
      </div>
    ),
  )
}
Rendering engine
The HTML and CSS are rendered to an image using the Satori rendering engine. Satori gives you a limited subset of CSS and HTML to work with focusing on properties that affect visual appearance like color, borders, shadows, etc. The big win is that Satori lets you customize fonts, inserts SVGs, and even basic images.
The key here is that you need to work within the limitations of what is possible both with the rendering engine and also edge functions. At the time of writing CPU execution time is limited to 50ms for an edge function. Inlined SVGs give you a lot of creative freedom to keep the response times fast on the edge function while still adding visual pop.
Satori uses only flexbox for layout, meaning you can’t use CSS grid at this time for element position.
Let’s add a simple rocket ship SVG into our example:
/** @jsxImportSource https://esm.sh/react */
import React from 'https://esm.sh/react@18.2.0'
import { ImageResponse } from 'https://deno.land/x/og_edge/mod.ts'

export default async function handler(req: Request) {
  const { searchParams } = new URL(req.url)
  const title = searchParams.get('title')
  return new ImageResponse(
    (
      <div
        style={{
          width: '100%',
          height: '100%',
          display: 'flex',
          alignItems: 'center',
          justifyContent: 'center',
          fontSize: 64,
          background: 'lavender',
          border: '20px solid indigo',
          padding: '0 200px',
        }}
      >
        <div
          style={{
            display: 'flex',
            alignItems: 'center',
            justifyContent: 'center',
            width: '72px',
            height: '72px',
            backgroundColor: 'indigo',
            borderRadius: '9999em',
            marginRight: '24px',
          }}
        >
          <svg
            xmlns="http://www.w3.org/2000/svg"
            fill="none"
            viewBox="0 0 24 24"
            strokeWidth="1.5"
            stroke="#ffffff"
            width="48px"
            height="48px"
          >
            <path
              strokeLinecap="round"
              strokeLinejoin="round"
              d="M15.59 14.37a6 6 0 01-5.84 7.38v-4.8m5.84-2.58a14.98 14.98 0 006.16-12.12A14.98 14.98 0 009.631 8.41m5.96 5.96a14.926 14.926 0 01-5.841 2.58m-.119-8.54a6 6 0 00-7.381 5.84h4.8m2.581-5.84a14.927 14.927 0 00-2.58 5.84m2.699 2.7c-.103.021-.207.041-.311.06a15.09 15.09 0 01-2.448-2.448 14.9 14.9 0 01.06-.312m-2.24 2.39a4.493 4.493 0 00-1.757 4.306 4.493 4.493 0 004.306-1.758M16.5 9a1.5 1.5 0 11-3 0 1.5 1.5 0 013 0z"
            />
          </svg>
        </div>
        {title}
      </div>
    ),
  )
}
Setting your open graph meta tags
Now that you have your open graph images automated you need to dynamically set your open graph meta tags. There are lots of ways you could accomplish this but probably the happiest path is using a layout component which accepts a prop for the image URL.
If you are using Astro you could do something like this:
---
// ...rest of frontmatter
const ogImageURL = new URL(
  `/api/og-image/?title=${encodeURI(frontmatter.title)}`,
  Astro.site,
)
---
<Layout ogImageURL={ogImageURL}>
{/* ...your content*/}
</Layout>
Then inside of your layout component you use that prop to set all the appropriate meta tags inside the head.
<head>
<meta property="og:image" content={socialImageURL.href} />
<meta property="og:image:width" content="1200" />
<meta property="og:image:height" content="630" />
{/* ...rest of the head*/}
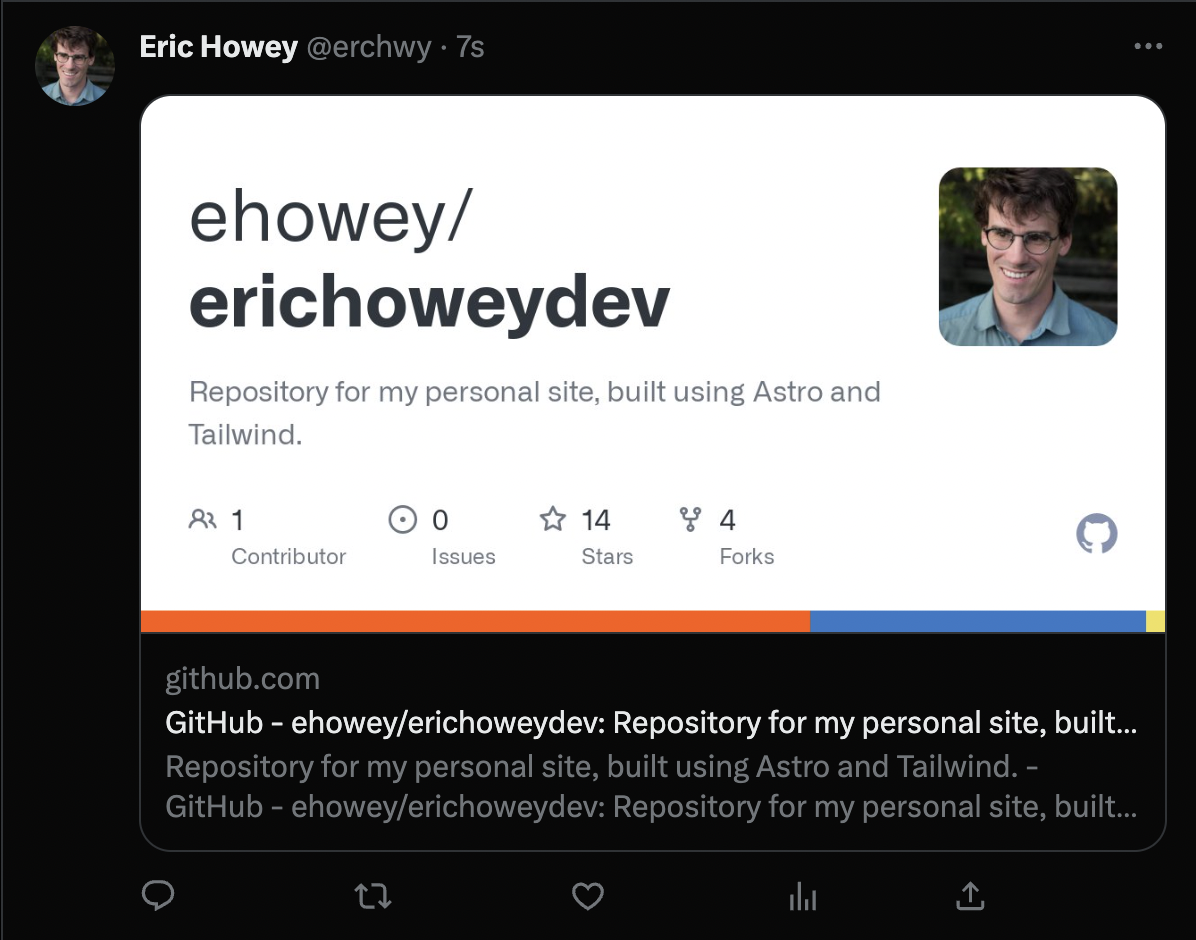
</head>This can get a bit more complicated as you have alt tags to think about for the image, fallback images if the prop isn’t present, and framework specific ways of managing SEO. If you feel like browsing through some raw code you can read through how I am doing this on my own site here: https://github.com/ehowey/erichoweydev.
Deploy, deploy, deploy
If you have been following along you should be able to deploy your project and view your new edge function via the raw URL which will be https://www.mysite.com/api/og-image. Don’t forget to do some testing to make sure it is generating images and setting all the proper meta tags!
What you do next is up to you! Have fun and happy coding!